Install Your Own Electric Floor Thermostat – Step by Step

Install Your Own Electric Floor Thermostat – Step by Step
An electric floor thermostat gives you precise control over your floor heating and can help reduce energy use when set up correctly. Many homeowners assume that installing one requires a licensed electrician from start to finish, but in many cases, you can safely handle part of the work yourself—especially if you’re simply replacing an existing thermostat. Here’s a step-by-step guide tailored for Canadian homeowners who want to install their own electric floor thermostat safely and correctly.
Safety First – Know the Rules
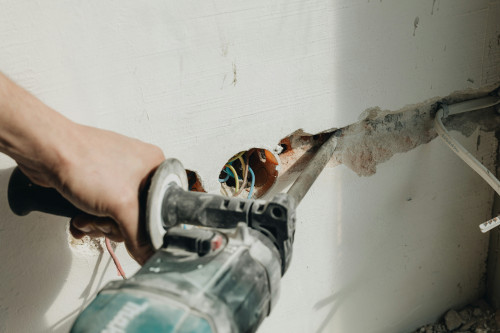
Before you begin, it’s essential to understand what you’re allowed to do. In Canada, electrical work is regulated by provincial and territorial codes, which are based on the Canadian Electrical Code (CEC). Generally, homeowners may replace an existing thermostat if no new wiring is required and the existing installation meets code. However, if you need to run new cables, modify circuits, or connect directly to the electrical panel, the work must be done by a licensed electrician.
Always remember:
- Turn off the power at the breaker panel before starting.
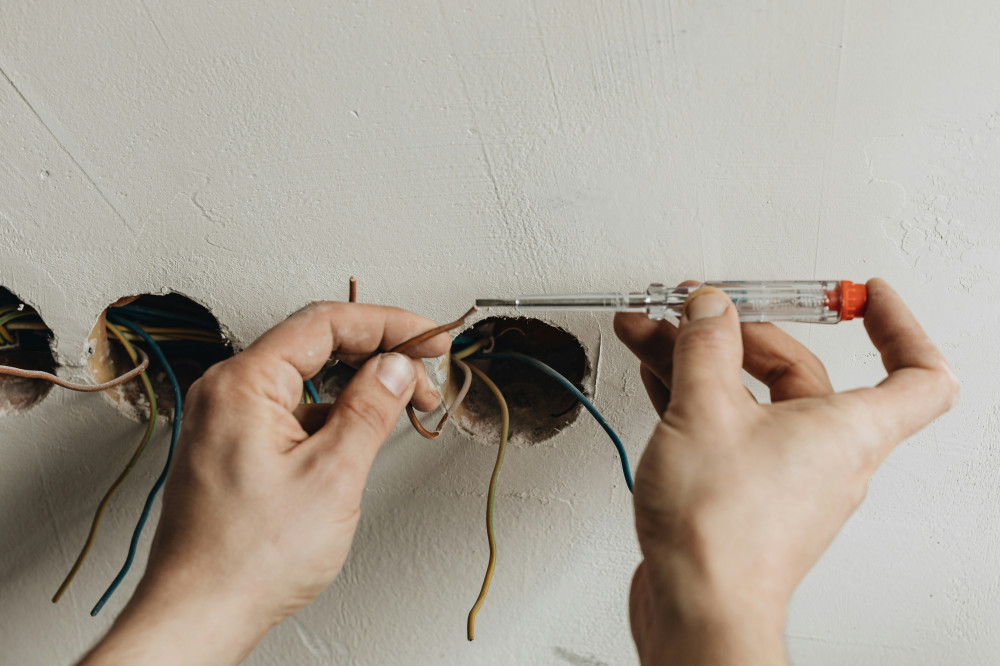
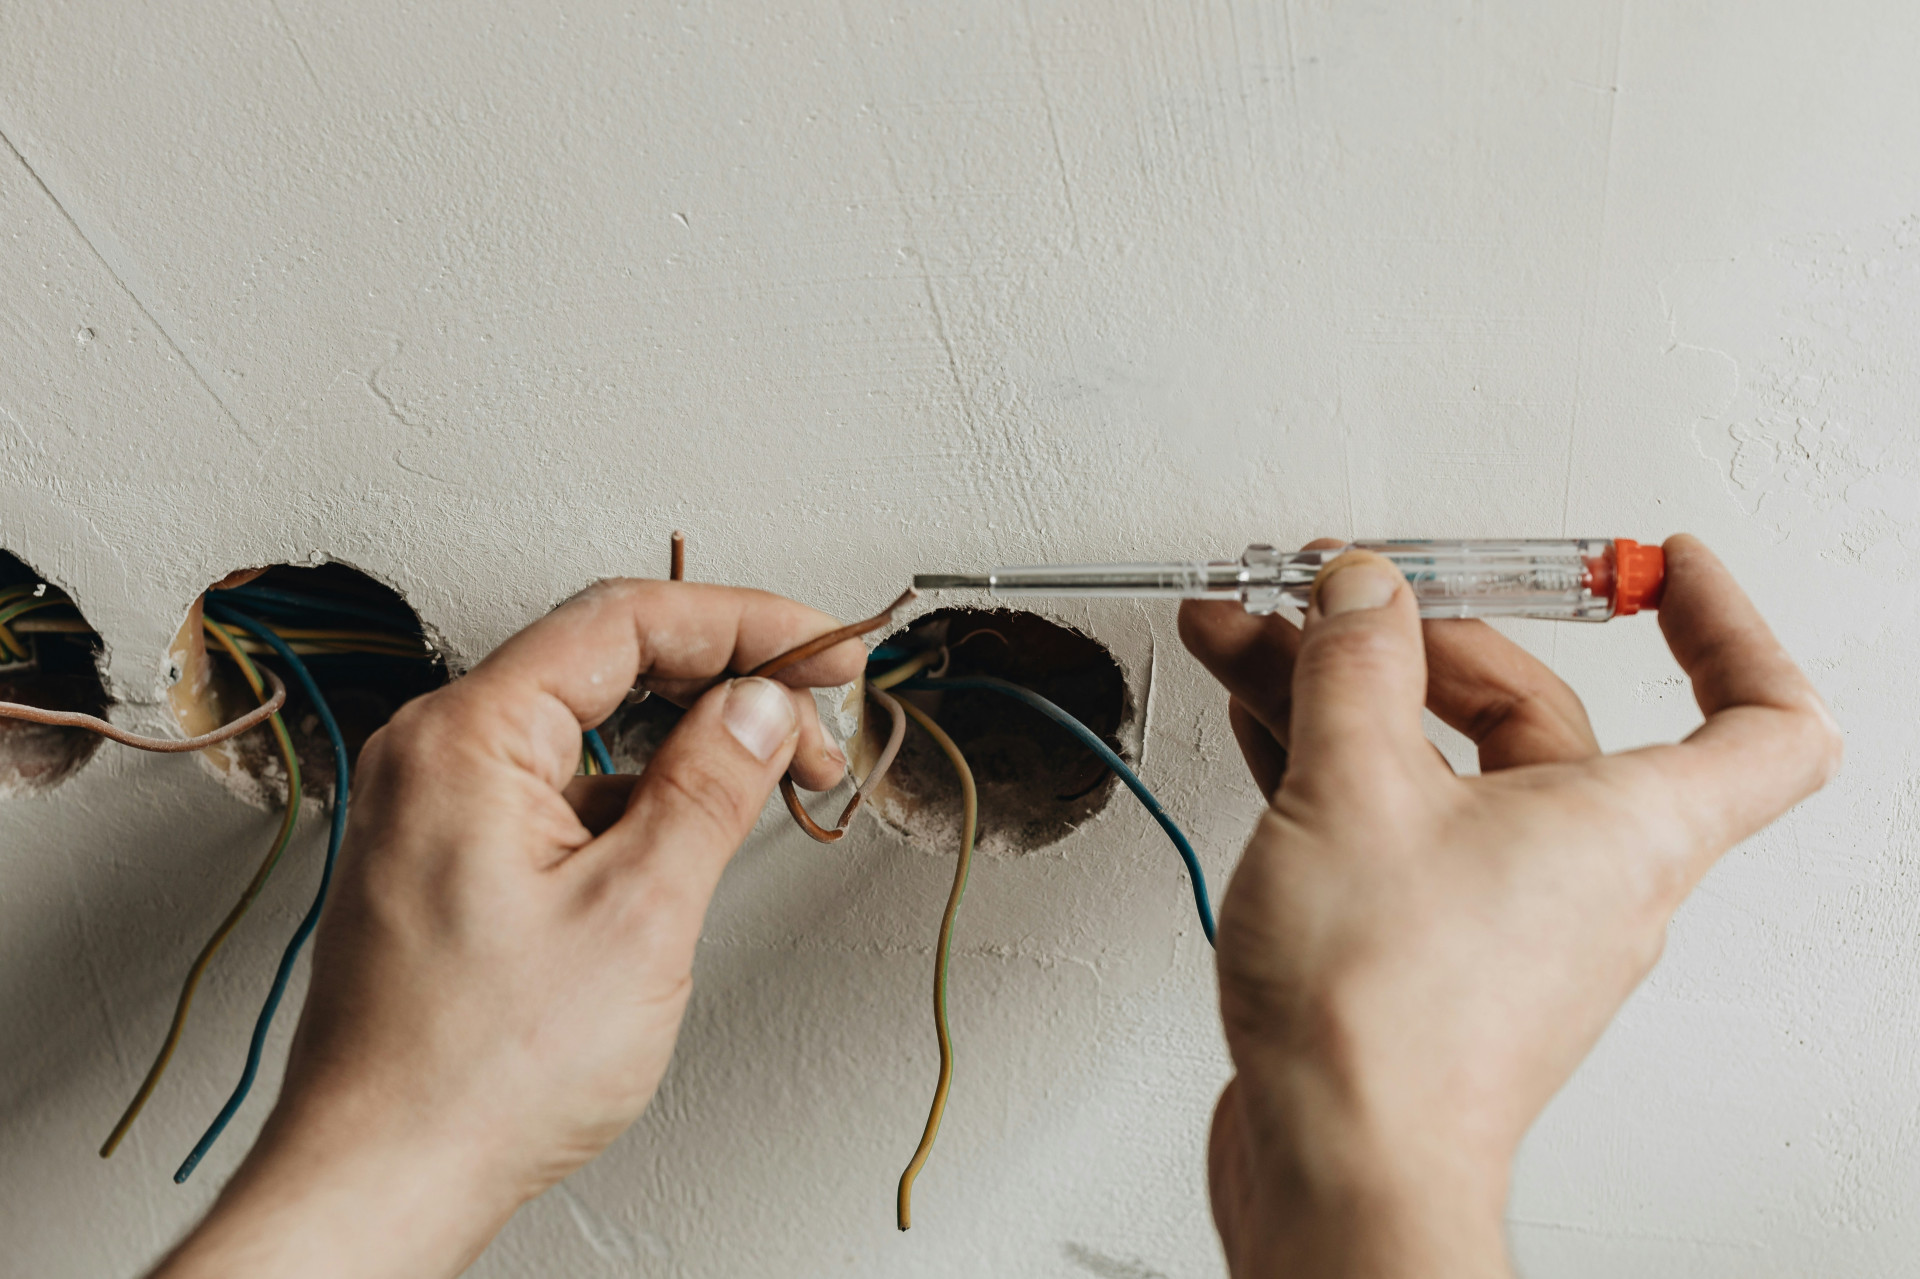
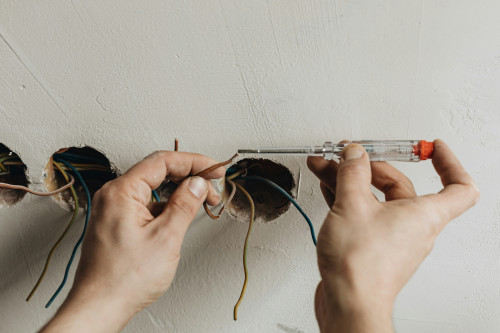
- Use a voltage tester to confirm that no current is present.
- Read the manufacturer’s installation manual carefully—details can vary between models.
If you’re unsure about any step, it’s always safest to consult a professional.
Læs også:

Step 1: Remove the Old Thermostat
Start by gently prying off the faceplate of your old thermostat. Most models can be removed with a small flat screwdriver. Unscrew the thermostat from the wall box and carefully pull it forward to expose the wires behind it.
Take a clear photo of the wiring connections before disconnecting anything—this will make it easier to connect the new thermostat correctly. Then, disconnect the wires one at a time.
Step 2: Prepare the Wires
Once the old thermostat is removed, inspect the wires to ensure they’re in good condition. If the copper ends are dark or damaged, trim and strip them back slightly to expose clean wire.
You’ll typically find three types of wires:
- Line (L) – usually black or red, carrying power from the breaker.
- Load (to floor heating) – often black or red, leading to the heating cable.
- Sensor wires – two thin wires from the floor temperature sensor.
If you’re uncertain which wire is which, stop and contact an electrician before proceeding.
Step 3: Connect the New Thermostat
On the back of your new thermostat, you’ll see terminals labeled for Line, Load, and Sensor connections. Follow the manufacturer’s diagram carefully, but the general process is:
- Connect the Line wires (power supply) to the terminals marked “Line.”
- Connect the Load wires (to the heating cable) to the terminals marked “Load.”
- Connect the two sensor wires to the designated sensor terminals.
Tighten the terminal screws securely, but avoid over-tightening. Make sure no bare copper is exposed and that wires are neatly arranged inside the box.
Step 4: Mount the Thermostat on the Wall
Once the wiring is complete, gently push the thermostat back into the electrical box. Align it so it sits straight, then fasten it with the provided screws. Snap or click the faceplate or display cover into place.
If your model includes a touchscreen or digital display, ensure the frame and cover are properly aligned before securing them.
Step 5: Restore Power and Test
Turn the power back on at the breaker panel. The thermostat display should light up, indicating that it’s receiving power. Set a temperature and wait a few minutes—your floor should begin to warm up gradually.
If the thermostat doesn’t power on or the floor doesn’t heat, turn the breaker off again and double-check your connections. Make sure the floor sensor is properly connected; without it, the thermostat can’t regulate temperature accurately.
Step 6: Set Temperature and Schedule
Most modern thermostats allow you to program comfort and setback (energy-saving) temperatures, as well as daily or weekly schedules. This helps you reduce energy use when heating isn’t needed—such as overnight or while you’re at work.
A good guideline is:
- Comfort temperature: around 24–26 °C (75–79 °F)
- Energy-saving temperature: around 18–20 °C (64–68 °F)
Refer to your thermostat’s manual for programming instructions. Many newer models can also connect to Wi-Fi, allowing you to control the temperature from your smartphone.
Step 7: Maintenance and Troubleshooting
Electric floor thermostats require very little maintenance, but it’s wise to check periodically that the floor sensor is functioning properly. If the floor feels too hot or doesn’t heat at all, the issue may be a faulty sensor or incorrect settings.
Avoid covering the thermostat with furniture or drapes, as this can affect temperature readings. Also, ensure that rugs or mats placed over heated floors are rated for use with radiant heating.
A Small Project with Big Comfort
Installing an electric floor thermostat is a manageable project for most homeowners—especially when replacing an existing unit. The result is more precise temperature control, improved comfort, and potential energy savings.
With a bit of patience and attention to safety, you can enjoy a warm, inviting floor and the satisfaction of completing a professional-looking installation on your own.
Læs også: