How to Ensure Tight Seams in the Roof Underlayment

How to Ensure Tight Seams in the Roof Underlayment
A watertight roof underlayment is one of the most important elements in protecting a home from moisture damage. The underlayment acts as the roof’s secondary barrier, preventing rain, snow, and ice from penetrating the roof deck. Even the best materials, however, can fail if the seams are not properly sealed. This guide explains how to ensure tight seams in your roof underlayment — from installation to maintenance — with a focus on Canadian climate conditions.
Understanding the Role of Roof Underlayment
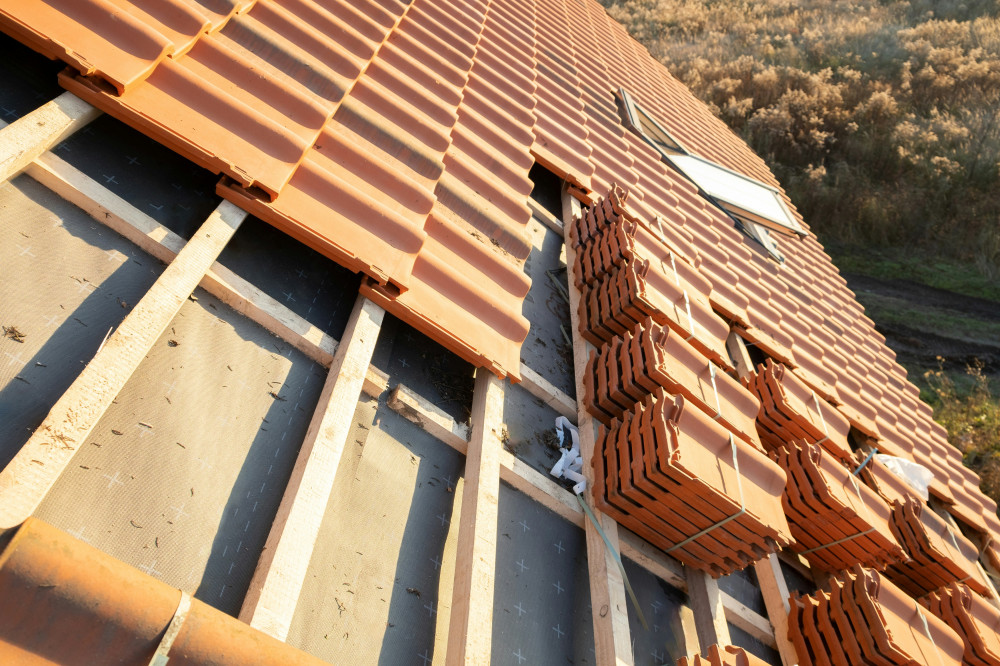
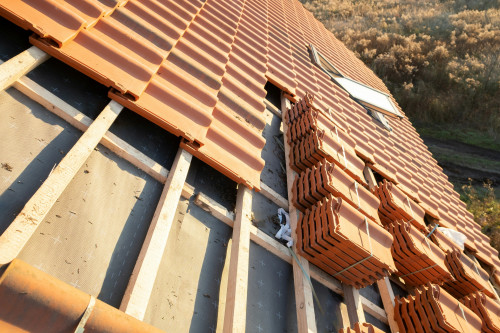
The underlayment sits beneath shingles, metal panels, or other roofing materials and channels any water that gets past the outer layer safely toward the eaves and gutters. Because Canada experiences a wide range of weather — from heavy snow in the Prairies to coastal rain and freeze-thaw cycles — the integrity of every seam is critical.
There are two main types of underlayment used in Canadian homes:
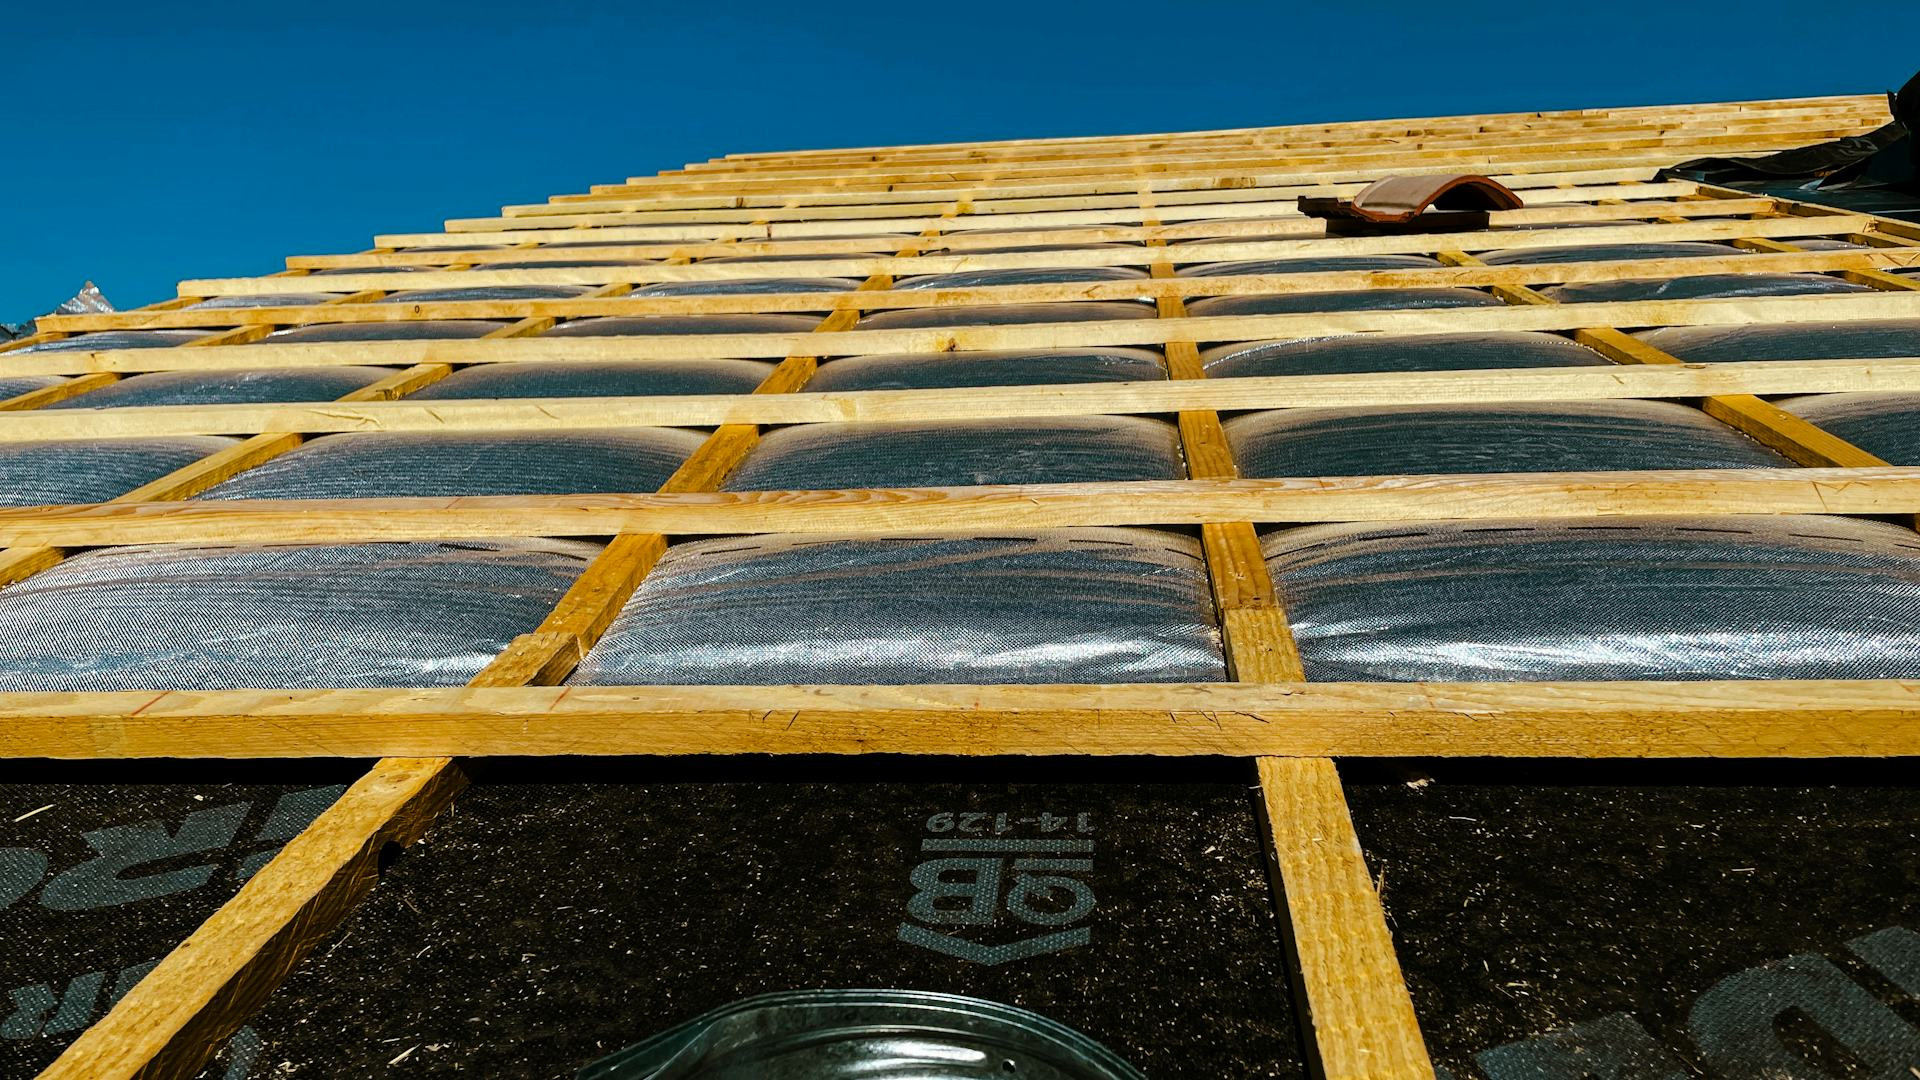
- Synthetic underlayment, which is lightweight, durable, and resistant to tearing. It’s commonly used under asphalt shingles and metal roofing.
- Self-adhering (peel-and-stick) underlayment, which provides an extra waterproof layer and is often used in vulnerable areas such as valleys, eaves, and around roof penetrations.
Regardless of the type, the seams are the most vulnerable points and require careful attention during installation.
Choosing the Right Materials
A tight seam starts with compatible, high-quality materials. Always use tapes, adhesives, and sealants that are approved for the specific underlayment you’re installing. Manufacturers design their systems to work together, ensuring the best adhesion and long-term performance.
- Roofing tape should be UV- and temperature-resistant to withstand Canada’s seasonal extremes.
- Sealant or adhesive is essential around penetrations, valleys, and wall junctions.
- Fasteners and battens can provide additional mechanical support, especially along ridges and eaves.
Avoid mixing products from different manufacturers, as this can reduce adhesion and shorten the lifespan of the seal.
Læs også:

Proper Seam Installation
Precision is key when installing underlayment seams. Small mistakes can lead to leaks that are difficult to detect until significant damage occurs.
- Clean and dry surfaces: Adhesives and tapes only bond properly to clean, dry surfaces. Remove dust, sawdust, and moisture before sealing.
- Follow overlap guidelines: Check the manufacturer’s instructions for the correct overlap — typically between 10 and 15 centimetres (4–6 inches). Too little overlap increases the risk of leaks.
- Apply firm pressure: Use a roller or your hand to press the tape firmly, eliminating air pockets and ensuring full contact.
- Avoid wrinkles and tension: Wrinkled or stretched underlayment can pull apart over time. Lay it flat and smooth.
- Seal around penetrations: For vents, skylights, and chimneys, cut the underlayment precisely and seal with compatible flashing or specialized tape.
These small details make the difference between a roof that lasts decades and one that fails prematurely.
Inspection and Maintenance
Even a well-installed underlayment should be inspected periodically, especially after severe weather events such as windstorms or heavy snowfall. Look for signs of moisture, staining, or dark spots in the attic, which may indicate a leak.
If you find a loose seam, it can often be repaired with new tape or sealant — but only if the area is clean and dry. For larger issues or if the damage extends beneath the roofing material, contact a professional roofer to assess whether a section needs replacement.
Common Mistakes to Avoid
Many underlayment failures stem from the same avoidable errors:
- Installing in wet or freezing conditions.
- Using incompatible or low-quality tape or adhesive.
- Insufficient overlap between sheets.
- Poor sealing around roof penetrations.
- Skipping post-installation inspection.
By avoiding these mistakes, you can prevent costly repairs and extend the life of your roof.
A Tight Underlayment Protects Your Home
A properly sealed underlayment not only keeps water out but also helps prevent mold, rot, and energy loss. It’s an investment in your home’s durability and comfort. With the right materials, careful installation, and regular maintenance, you can ensure your roof stays watertight — no matter what the Canadian weather brings.
Læs også: